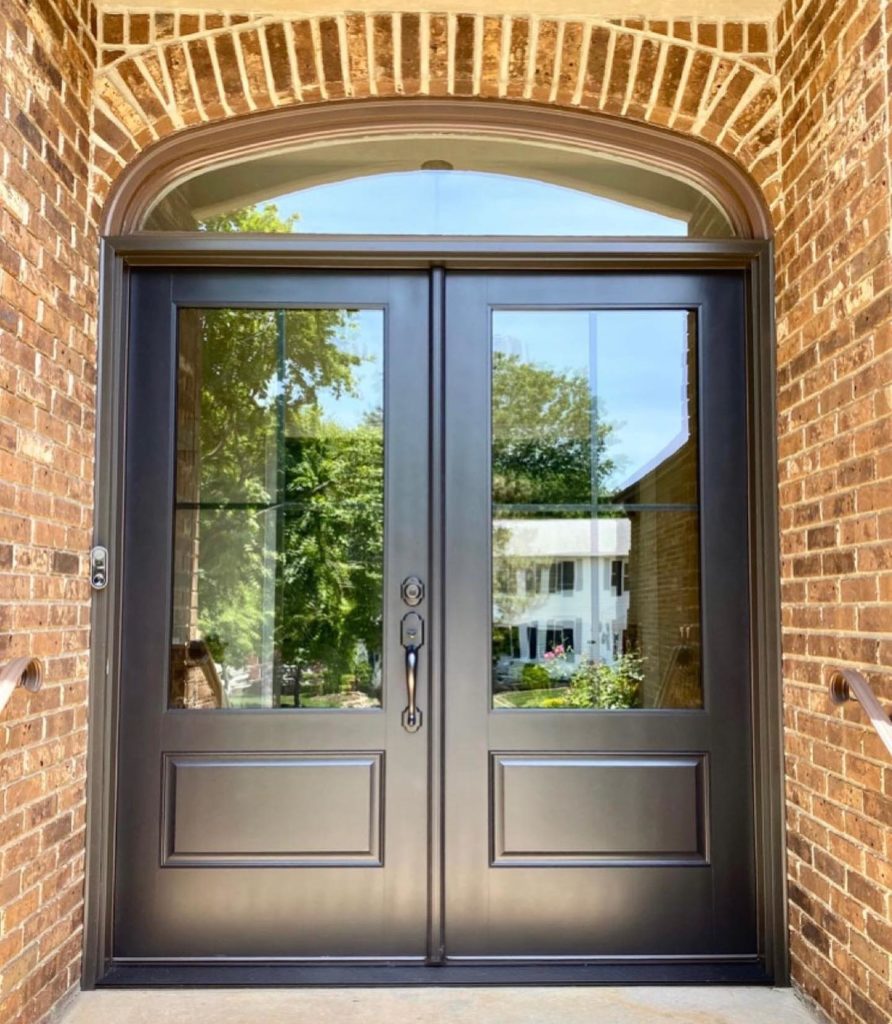
Therma-Tru doors are trusted by homeowners and builders for their superior quality, stunning designs, and energy-saving features.
Our Therma-Tru door installation service ensures your doors look great and perform flawlessly. Choose Therma-Tru entry doors for lasting style and value.
Want to Learn More About Your Door Options?
Call (602) 233-1981 right now to set up a convenient time for your FREE consultation and estimate. This is an easy, pressure-free way to get all of your questions answered.
About Therma-Tru Doors
Therma-Tru doors completely changed the home-building industry by creating entry doors that blend the classic beauty of wood with exceptional durability. As the top brand of Therma-Tru fiberglass doors, we continue to raise the standard for creativity and craftsmanship.
Our cutting-edge Innovation Center in Monclova, Ohio, where our professionals create Therma-Tru exterior doors, supports our innovative journey. We concentrate on making doors that endure, whether it’s through innovative designs or improved security features.
We take pride in being the most popular brand of Therma-Tru entry doors, trusted by both homeowners and building professionals. Whether you require Therma-Tru door replacement service, our well-designed doors add value, style, and security to your house.
Want to Learn More About Your Door Options?
Call (602) 233-1981 right now to set up a convenient time for your FREE consultation and estimate. This is an easy, pressure-free way to get all of your questions answered.
As we have grown, Therma-Tru Doors has extended its presence in other communities. We have a state-of-the-art Innovation Center in Monclova, Ohio, and our corporate offices are in Maumee, Ohio. To guarantee premium Therma-Tru fiberglass doors, we run two manufacturing facilities: one in Butler, Indiana, and another in Matamoros, Mexico. Our extensive selection of Therma-Tru entry and exterior doors, which offer unparalleled design and durability, is accessible throughout North America.
Our goal is to provide Therma-Tru door replacement services and installation that blend long-lasting comfort with performance.
Why choose Therma-Tru Entry Doors?
- More than fifty years of demonstrated excellence: For more than fifty years, building professionals have trusted Therma-Tru Doors.
- According to experts, Therma-Tru exterior doors are the best option for households seeking durability, security, and design.
- Customized Door Systems: Every Therma-Tru door is designed to operate flawlessly at strategic locations for optimal effectiveness.
- Unmatched guarantee: Of all the Therma-Tru fiberglass door suppliers, take advantage of the most extensive lifetime limited guarantee available.
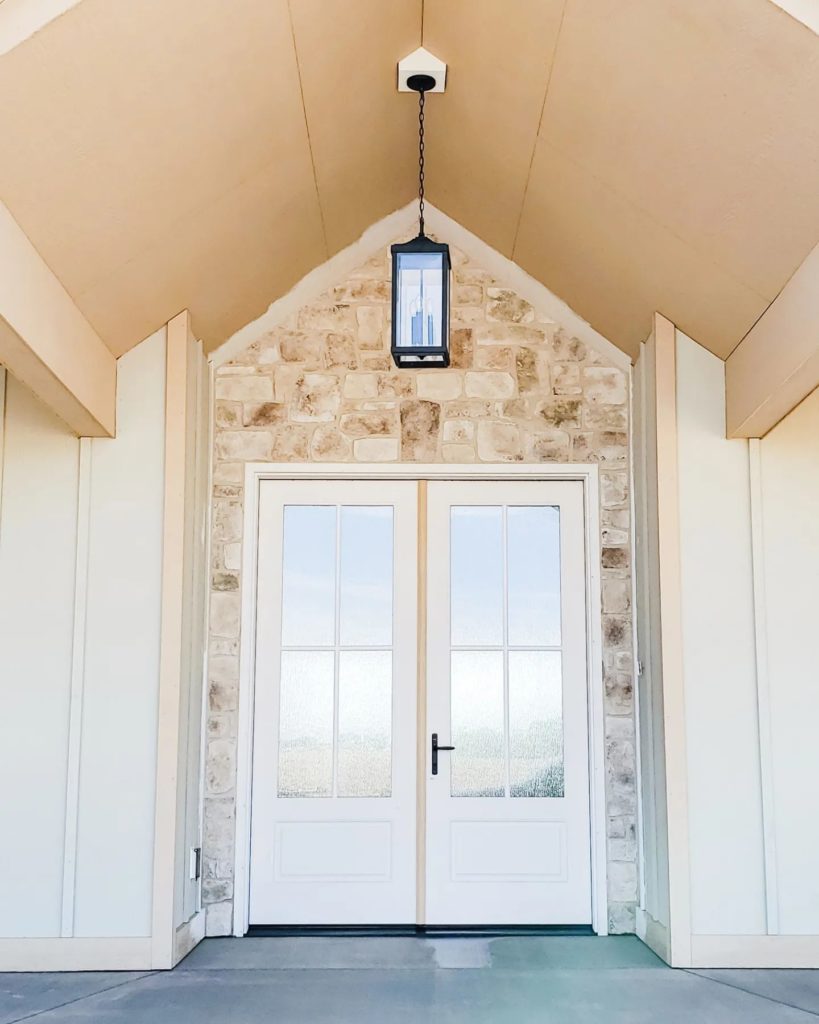
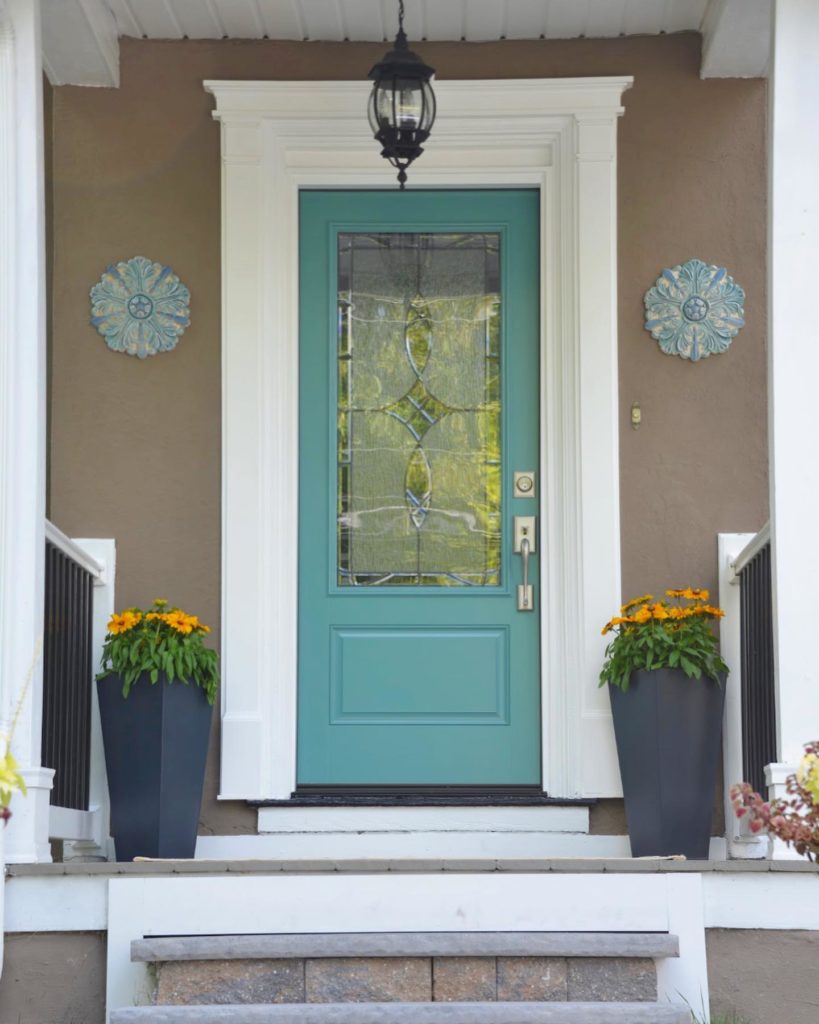
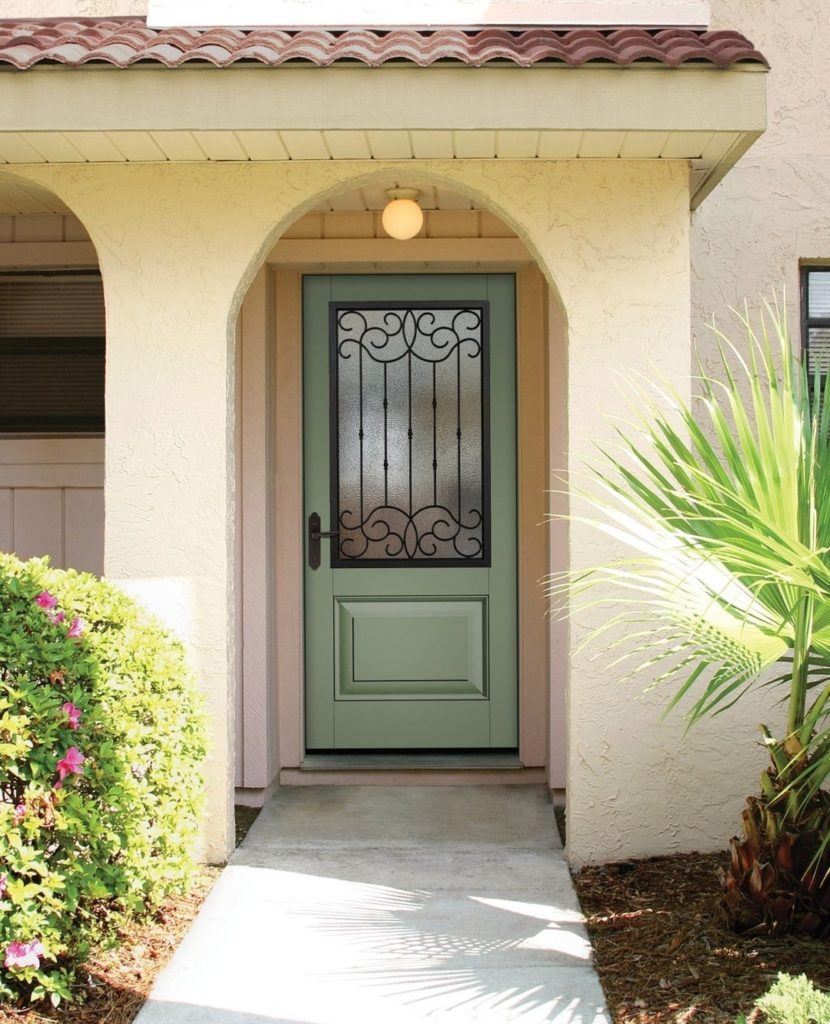
- Thousands of Therma-Tru entry door installations are available to suit every architectural style, providing an endless array of design options.
- Our Therma-Tru exterior doors feature a variety of beautiful glass selections that can be handcrafted to match any home’s decor.
- Customers can utilize simple digital tools to investigate and personalize their Therma-Tru door service using interactive visualization tools.
- Beautiful and Practical Door Designs That Have Won Industry Accolades. We are proud to have won numerous accolades for our unique door designs.
- Professional Services: We provide skilled Therma-Tru door replacement services to guarantee a flawless fit every time.
What are the tools needed to install replacement entry doors?
- Cut Resistant Gloves
- Safety Glasses
- Pry Bar
- Hammer
- Reciprocating Saw
- Power Drill and 1/8-inch drill bit
- 2-foot and a 6-foot level
- Measuring tape
- Framing Square
- Caulking gun and elastomeric caulk
- Seal Pan
- A number 2 and number 3 Phillips bit
- Shims
- Sight Pack
- Number 8×1/2-inch exterior grade screws
- Putty Knife
How do I install a Therma-Tru entry door or patio door system?
Prepare to remove the exterior. Using a utility knife with the blade pointing away from you, score along the line where the trim meets the siding. This will help prevent any damage to the siding. Be sure to do this on both sides of the door for the Freeliteaz door replacement service.
Remove the Therma Tru door slab from the frame. Then, remove the hinge pins from the hinges. After the pins are removed, lift the door slab away from the framing and set it aside.
To cut the exterior door fasteners, start by sliding a putty knife between the wall studs and the existing jamb and locating the fasteners. Once you’ve found each fastener, use a reciprocating saw to cut through them until all fasteners are severed.
Remove the original jamb from the opening. From the inside, carefully push the jamb towards the exterior until it is free from the opening.
Check the rough opening – check the subflooring to ensure that it is level. Also, check the rough opening of the door to be sure it is square and plumb. Make any adjustments as needed.
Caulk the subfloor and install both ends of the pan’s sill on the subfloor opening with three large beads of elastomeric caulk along the entire width of the opening. Place each end of the seal pan on the beads of the caulk and press tightly against the sides of the opening.
Install the centre of the sill pan—liberally coat the overlap and recessed areas of the end pieces with the PVC cement provided. Place the centre section of the seal pan, position it, and hold it long enough to ensure a good bond. To prevent air infiltration, run a bead of caulk along the lower interior edge of the seal pan.
Remove the check plug or transport clip – if the unit is equipped with a screw-type check plug for transportation, remove the screw portion from the exterior of the jamb. If the unit is equipped with a transport clip, remove the clip from the door only after the unit has been secured.
Caulk along the brickmould – apply caulk to the back of the brickmould around the entire perimeter of the unit 5/8-inch bead of elastomeric caulk is essential.
Place the unit in the opening – lift the unit with the top away from the opening center unit and place the seal down into the seal pan as the unit is tilted in.
Temporarily secure the unit in the opening – mark the jam face near the door edges on both sides of the door. Pre-drill 1/8-inch hole at these locations for screw placement. A countersunk hole will help you conceal the screw heads. Install number 8×21/2-inch exterior grade screw only in the center hole of both jambs to temporarily secure the unit. Do not drive the screws completely in at this time.
Plumb the hinge-side jamb – use a 6-foot level plumb the hinge-side jamb both right to left and inside to outside. Place the number 8×21/2-inch exterior grade screw at each remaining hinge location do not drive the screws in completely at this time.
Shim and secure the hinge-side jamb – leave the door closed, shim the above screws behind each location between the opening and the jamb. Use the six-foot level and recheck the hinge jamb to ensure it is plumb and straight. Finish driving the screws in tightly starting in the middle first then the top and the bottom last.
Check the weatherstrip contact—from the exterior, check the margin and the weatherstrip contact. Make any frame adjustments to ensure that the weatherstrip contacts the door surface equally at the top, middle, and bottom.
Install the long hinge door screws – in the top hinge, drill eight-inch pilot holes into the two screw hole locations closest to the weatherstrip, then install the number 10×21/2-inch screws into the stud to anchor the door frame and prevent sagging.
Adjust the sill – check the adjustable sill by performing the dollar build test. When the sill is properly adjusted it should be snug and slightly difficult to pull a dollar bill out when the door is fully closed, adjust the saddle screws if necessary.
Trim the weatherstrip—inspect the weatherstrip length and trim it if it is not flush with the top of the seal saddle.
Install the corner pads: Apply a bead of elastomeric caulk at the joints where the seal saddle meets the door jambs and install the corner seal pads.
Weatherproof the exterior of the door unit—It is important to apply caulk around the exterior of the unit. Areas that need to be caulked include the seal to the subfloor, the seal to the jamb joints, any exterior trim to the jambs, and any trim to the siding.
Want to Learn More About Your Door Options?
Call (602) 233-1981 right now to set up a convenient time for your FREE consultation and estimate. This is an easy, pressure-free way to get all of your questions answered.